Step-1: Sign up for google AdWords
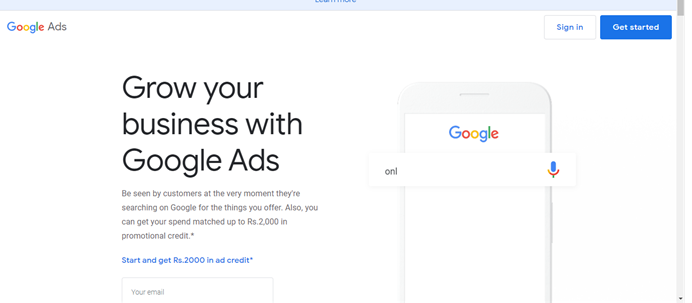
Firstly you can go the google AdWords home page ads.google.com
Now after reached the home page you will need a google username to use Google AdWords. If any case you have a Gmail account, then you can use your Gmail username, or if you want to create a new google username for the AdWords service, you may do, and so by clicking on the start now button shown below.
You will be taken to the create google account page, Where you can choose the username and password you’d like to use with AdWords.
Step-2: Verify your Account
During Step 1, if you have already a google account or if you decided to use your current google account such that, your Gmail account, to create an AdWords account, so then you don not need to follow this steps. However, if you want to create a new Google account for Google AdWords, so you will be required to verify your account.
After verifying your account with Google, you will be able to sign in using your username and password.
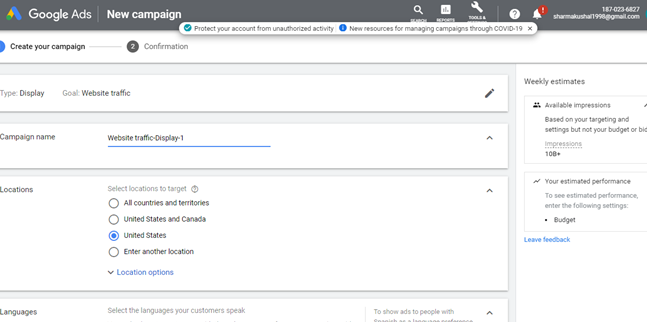
Step 3: Set Up Your First Campaign
Firstly you are signed in to Google AdWords, the system will prompt you to create your first campaign.
If you want to set your campaign setting ( like name your campaign, language, location, network setting, bidding and budget options, etc.)
You will want to provide the following basic information to create your marketing campaign after which click on the Save and continue button at the bottom of the page when you are done.
Budget:
Enter the amount you’re willing to spend on average each day for this advert campaign. Your finances will help determine how regularly your advert may be shown every day.
Locations:
Select the places in which you want your ad to appear (location of capability customers).
Networks:
Select wherein you want your ad to appear. You have a choice to select devices on which you want your advert to arrive or use the default setting.
Keywords:
Enter search term keywords in an effort to cause your advert.
Bid:
Enter the most you are inclined to pay on your advert.
Text:
Enter the textual content of your ad.
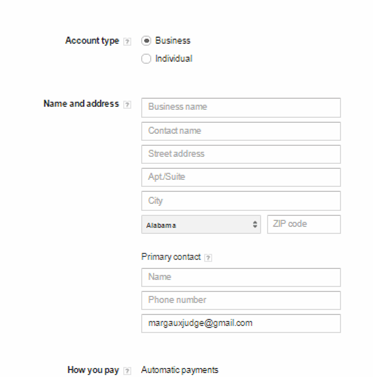
Step 4: Set Your Billing choice and Time Zone Information
1. Choose the country or territory wherein your billing deal with is positioned from the drop-down. The other fields naturally update.
2. Choose your Account type (Business or Individual). Continue deciding on the radio buttons and filling in the data in fields.
3. Enter your billing facts (i.E., credit score card details) or use a promotional code.
4. Here is also in which you will set time sector information. Note: Time area and foreign money settings can’t be modified after you install your account.
5. Click Save and continue while you are finished.
There are one-time account activation costs. Account activation fees and payment alternatives vary in step with the foreign money you operate and the vicinity of your billing cope with.